introduction
Planning a magical Harry Potter birthday party? You already know the cake is the center of attention. But what if you could make it truly unforgettable — with homemade decorations that look straight out of Hogwarts?
Creating your own Harry Potter birthday cake decorations isn’t just budget-friendly — it’s a fun, hands-on activity that brings out your inner wizard! Whether you’re baking for your child’s first magical birthday, a Harry Potter movie night, or even an adult fan’s themed celebration, you don’t need to be a professional cake decorator.
In this guide, you’ll discover step-by-step ideas for making spellbinding cake toppers and decorations — from the Golden Snitch to the Sorting Hat — using simple tools and ingredients. These DIY decorations are easy to make, highly customizable, and sure to impress your guests.
✨ Ready to make your cake the star of the party? Grab your wand (or whisk) and let’s get decorating!
Why Make Your Own Harry Potter Cake Decorations?
🍰 Save Money vs. Store-Bought Cakes
Custom Harry Potter cakes from professional bakeries can cost anywhere from $70 to over $200, depending on complexity. But by making your own cake and decorations, you can recreate that magical look for a fraction of the cost. All you need are a few basic baking tools, some creativity, and a sprinkle of magic.
Plus, homemade cakes give you full control over ingredients — perfect for those who want to avoid certain allergens or prefer healthier options.
✨ Customize Designs Based on Favorite Characters
Want to highlight your child’s favorite character — like Hermione’s Time Turner, Ron’s rat Scabbers, or Harry’s iconic lightning scar? With DIY decorations, you can personalize the cake for any Hogwarts House or wizarding theme.
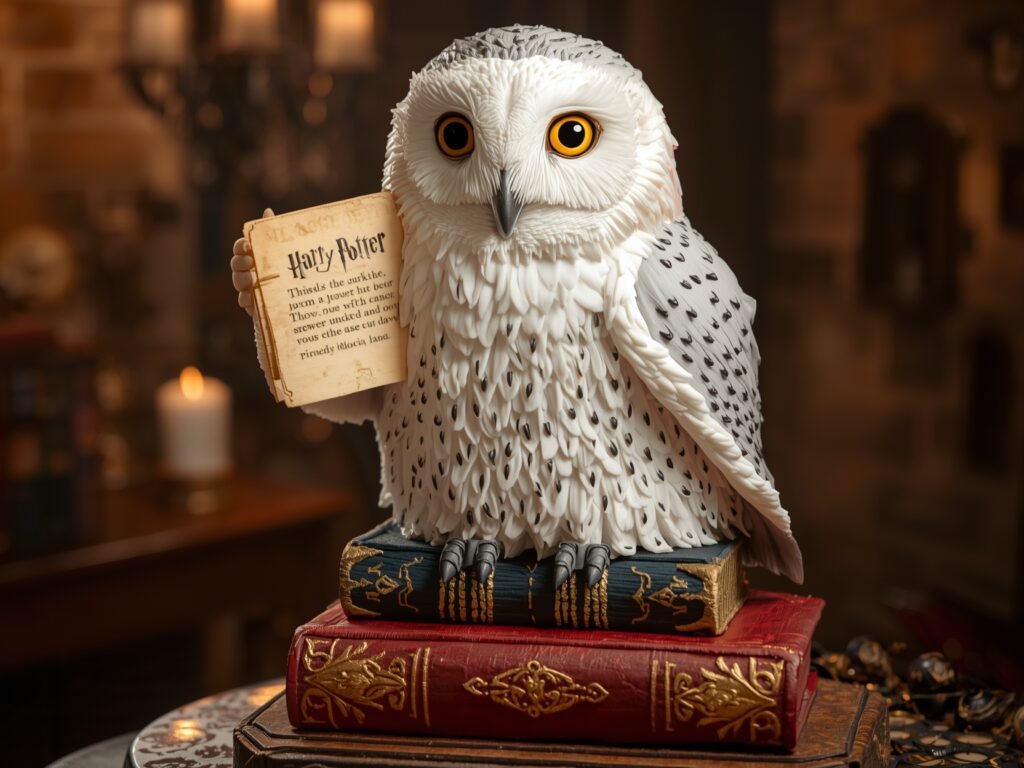
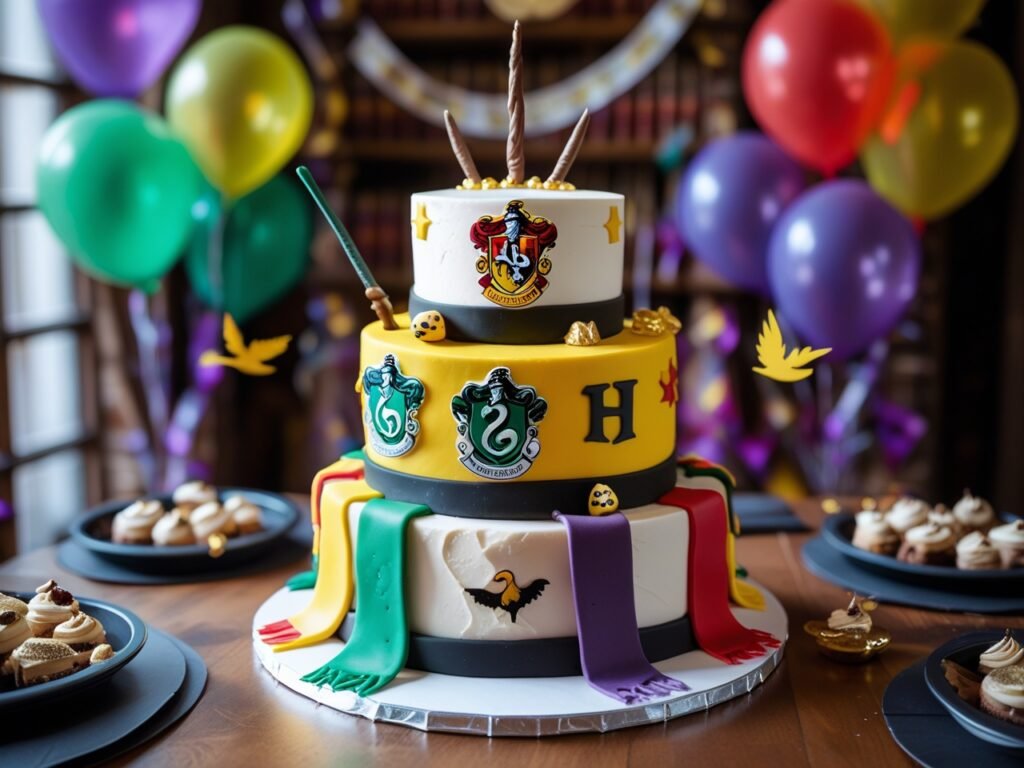
This flexibility lets you create something truly one-of-a-kind. Use the birthday person’s house colors (Gryffindor, Slytherin, etc.), or make mini figures of their favorite magical creatures like Hedwig or Dobby.
👨👩👧 Fun and Creative Activity for You and the Kids
Making cake decorations is a fantastic bonding activity for families. Kids will love helping roll fondant, sprinkle edible glitter, or place the Sorting Hat topper just right.
It’s also a great way to get them excited about the party and feel involved. You can even turn it into a fun pre-party event where they design their own Hogwarts cupcake!
🎂Tools and Ingredients You’ll Need
🧰 Basic Tools: Piping Bags, Rolling Pin, Cutters, Brushes
To get started with your magical cake decor, you’ll need a few simple tools:
- Piping bags and tips for adding details like lightning bolts or stars.
- A rolling pin for working fondant or gum paste.
- Shape cutters for stars, circles, and magical emblems.
- Edible brushes for painting gold dust or adding shimmer.
🧁 Specialty Items: Edible Glitter, Fondant, Food Coloring
Make your cake sparkle like a real Hogwarts feast with:
- Edible glitter or gold luster dust (for the Golden Snitch)
- Fondant or gum paste (for 3D elements like glasses and hats)
- Gel food coloring to match Hogwarts house colors
✨7 Magical Decoration Ideas You Can Make at Home
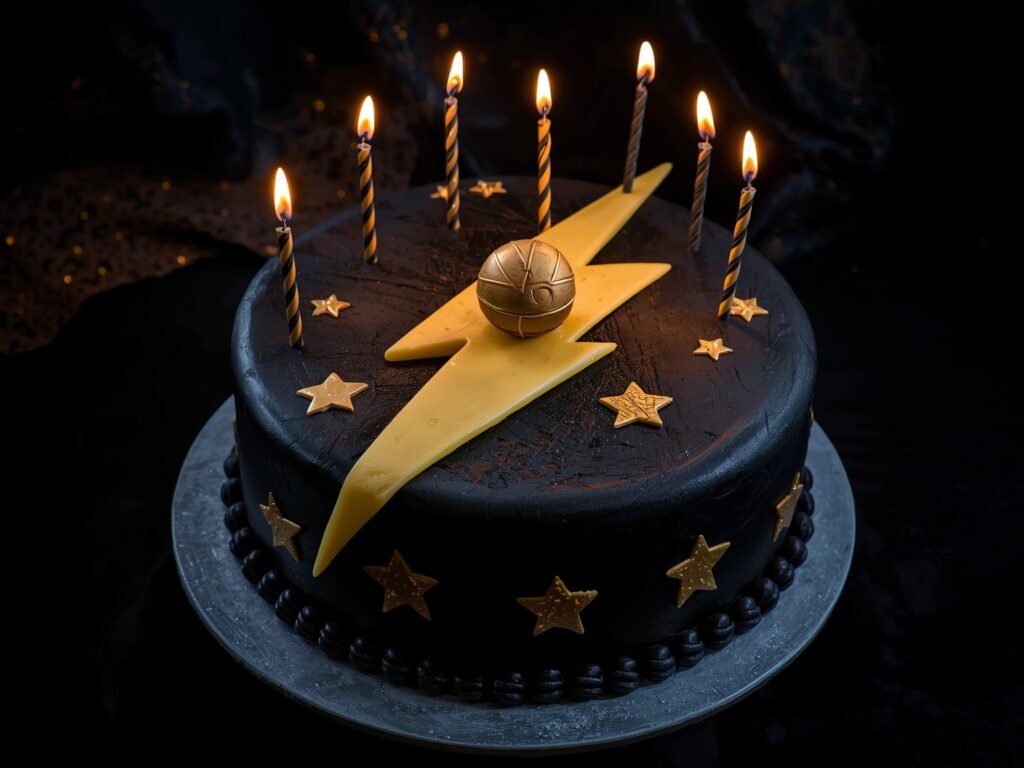
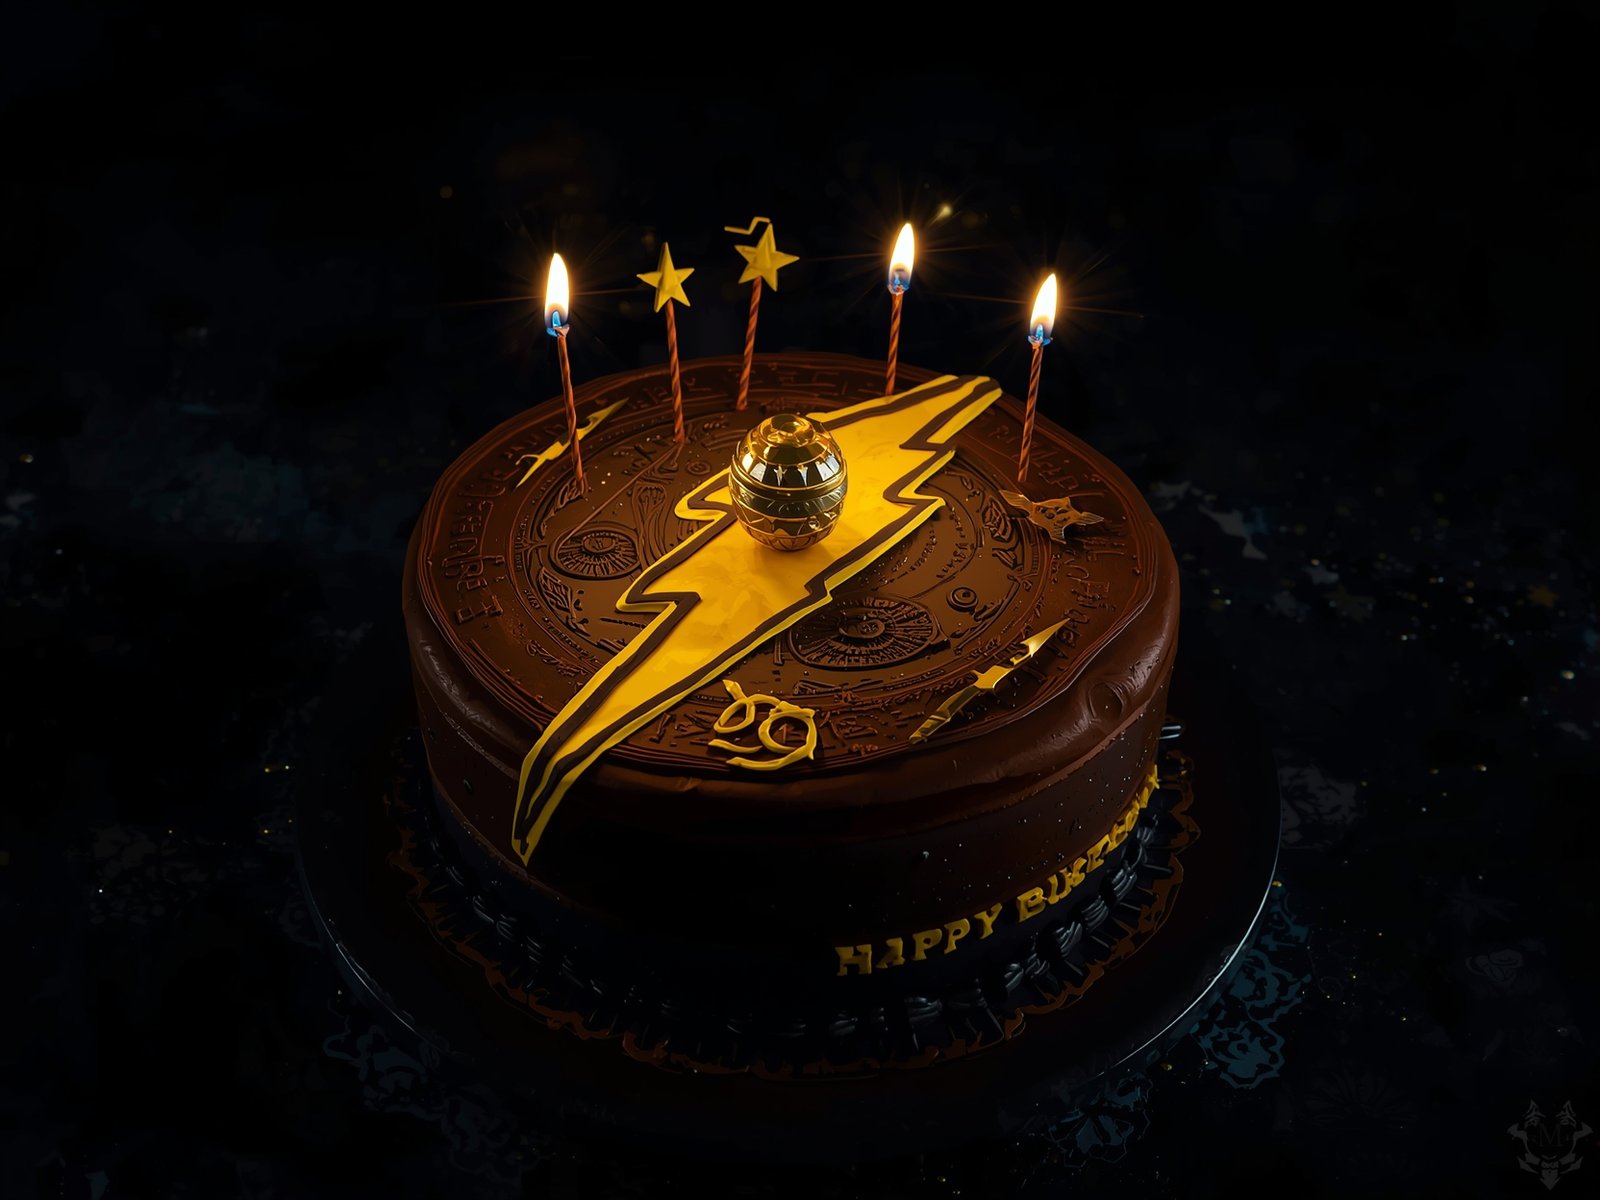
🟡 Golden Snitch Cake Topper
This iconic Quidditch ball is easier to make than you think!
- Roll a gold-painted fondant or chocolate truffle into a ball.
- Add small white wings using rice paper, fondant, or gold foil paper.
- Optional: Use a toothpick to place it elegantly on top of the cake.
🎩 Sorting Hat Fondant Topper
Bring the Sorting Ceremony to your cake!
- Shape brown fondant into a cone shape, then add eye and mouth impressions to mimic the Sorting Hat’s features.
- Use a toothpick or fondant tool for details.
- Dust with cocoa powder for a realistic aged look.
👓 Harry’s Glasses & Scar
This is a simple but recognizable touch.
- Pipe melted chocolate or use black fondant to form round glasses.
- Add Harry’s lightning bolt scar above or beside it using yellow icing or candy.
- Let dry before placing carefully on the cake.
🏰 Hogwarts House Crest Flags
These are easy to make using:
- Edible image sheets (print Hogwarts house logos)
- Toothpicks or skewers to hold the mini flags
- Place around the base or sides of your cake