Homemade Strawberry Sweet Rolls
Soft, fluffy, and irresistibly sweet, these **homemade strawberry sweet rolls** are shockingly easy to make! Perfect for breakfast, brunch, or dessert, they delight both kids and adults. Bursting with juicy strawberries and a tender, pillowy dough, they’re a simple way to elevate any morning or special occasion.
Equipment
- 1 Large mixing bowl For combining ingredients and dough
- 1 Small Bowl For mixing yeast and warm milk
- -- Measuring Cups & Spoons For accurate ingredient measurements
- 1 Whisk To mix sugar, eggs, and wet ingredients
- 1 Wooden spoon or spatula For initial mixing
- 1 Stand mixer with dough hook Optional, speeds up kneading
- 1 Rolling pin To roll out dough evenly
- 1 Baking pan or sheet 9x13-inch recommended
- -- Parchment paper Prevents sticking, easy cleanup
- 1 Pastry Brush For brushing butter or glaze
- 1 Knife or dough cutter To portion dough
- 1 Cooling rack To cool rolls after baking
- 1 Small saucepan To prepare glaze (optional)
Ingredients
- 3 ½ cups All-purpose flour For the dough
- ¼ cup Granulated sugar For the dough
- 2 ¼ tsp Active dry yeast 1 packet
- 1 tsp Salt For the dough
- ¾ cup Warm milk 110°F / 43°C
- ⅓ cup Unsalted butter Melted
- 1 large Egg For the dough
- 1 cup Fresh strawberries Finely chopped
- ¼ cup Granulated sugar For the filling
- 1 tsp Lemon juice For the filling
- 1 tsp Cornstarch Optional,to thicken filling
- 1 cup Powdered sugar For glaze (optional)
- 2–3 tbsp Milk For glaze
- ½ tsp Vanilla extract For glaze
- — — Chopped nuts Optional, walnuts or pecans
- ½–1 tsp Cinnamon Optional, enhances flavor
Instructions
- Phase 1: Preparing the Dough

- Phase 1_Step 1: In a large bowl, combine flour, sugar, yeast, and a pinch of salt.Mix well.
- Phase 1_Step 2: Add warm milk, melted butter, and eggs. Knead until you get a smooth, elastic dough.
- Phase 1_Step 3: Cover the dough with a clean cloth and leave it in a warm place for about an hour until it doubles in size.
- Phase 1_Step 4: After rising, press down the dough to remove the air, then roll it out on a floured surface into a rectangle.
- Phase 2: Preparing the Filling
- Phase 2_Step 1: Slice the strawberries into small pieces, then mix with sugar and a little lemon juice to form a consistent filling.

- Phase 2_Step 2: Optionally, add a small amount of cornstarch to absorb excess juice and prevent the dough from becoming soggy while baking.

- Phase 3: Shaping the Rolls
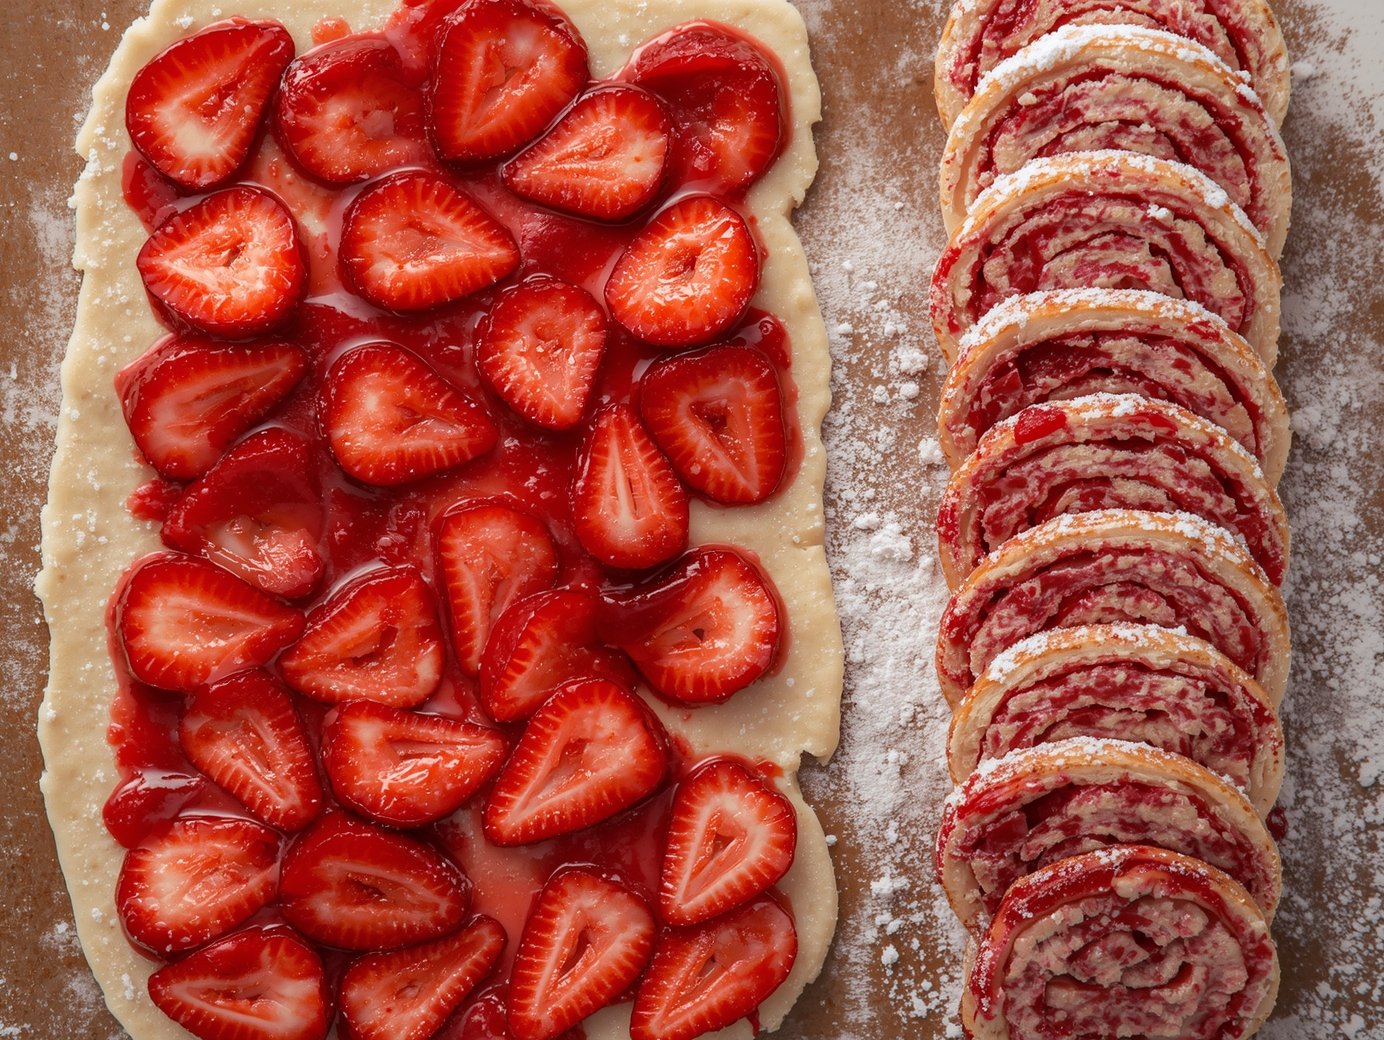
- Phase 3_Step 1: Spread the strawberry filling evenly over the rolled dough, leaving a small border along the edges.

- Phase 3_Step 2: Gently roll the dough from one long side to form a filled cylinder.
- Phase 3_Step 3: Cut the cylinder into equal pieces according to the desired size.
- Phase 3_Step 4: Place the pieces on a greased or parchment-lined baking tray, leaving a small space between each roll.
- Phase 4: Baking
- Phase 4_Step 1: Cover the tray and let the rolls rest for 15–20 minutes for a light second rise before baking.
- Phase 4_Step 2: Preheat the oven to 180°C (350°F), then bake the rolls for 20–25 minutes until golden brown.
- Phase 4_Step 3: After removing from the oven, brush the tops with a little melted butter for shine and extra flavor.
- Phase 5: Serving
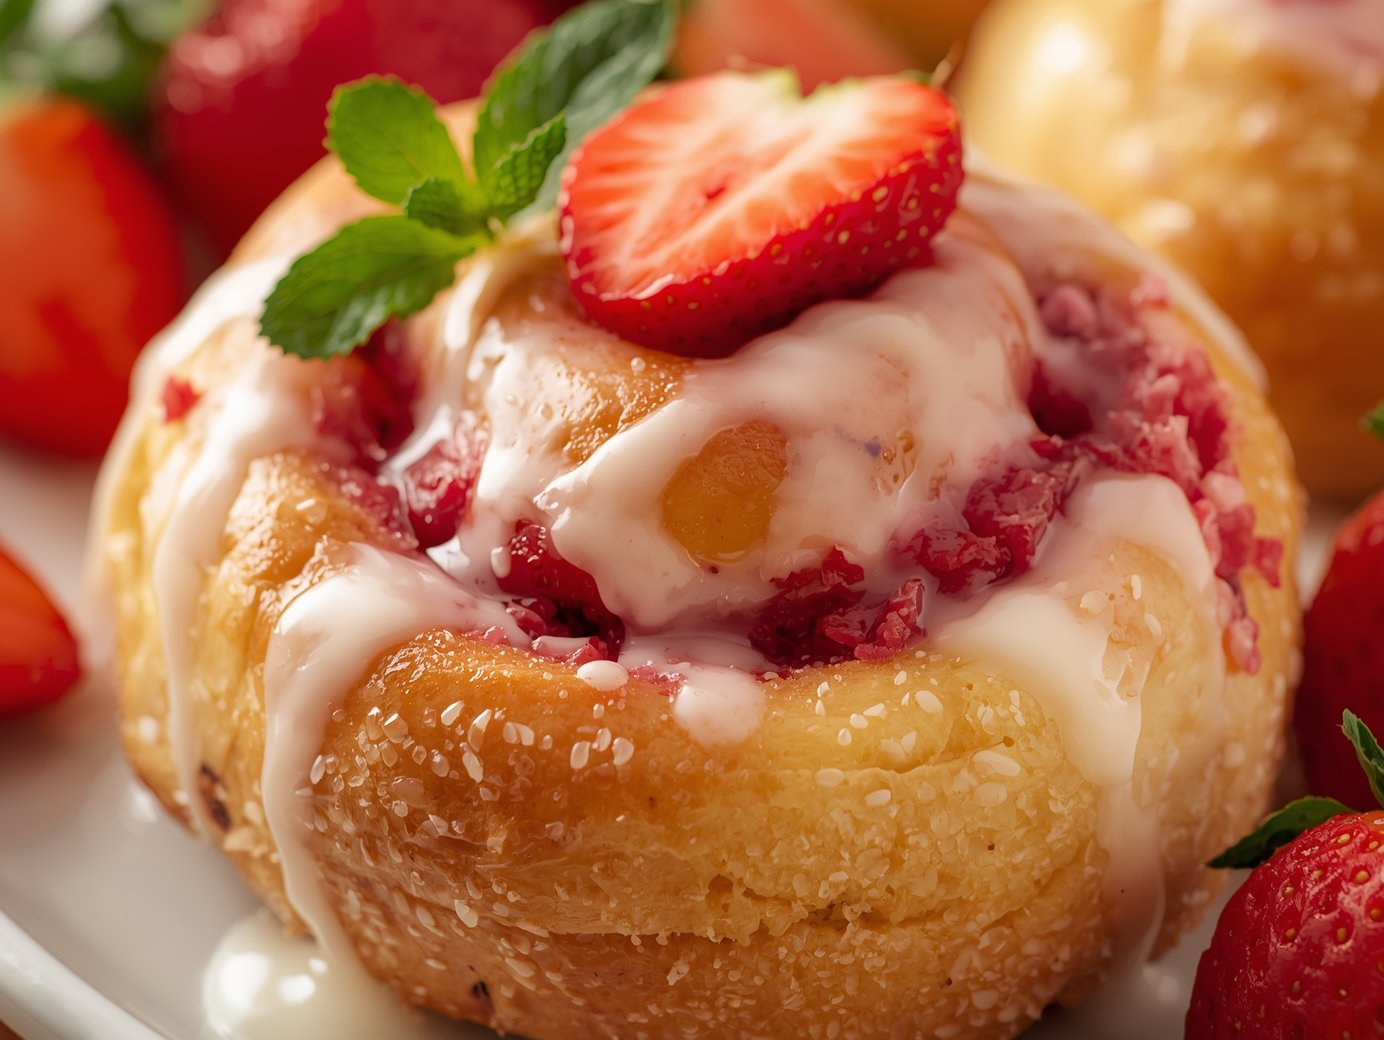
- Phase 5_Step 1: Serve the rolls warm with a dusting of powdered sugar or a drizzle of vanilla glaze if desired.
- Phase 5_Step 2: Optionally, garnish with fresh strawberry slices or mint leaves for a festive touch.


Notes
For softer rolls, let the dough rise in a warm, draft-free spot until doubled in size.
• Fresh strawberries work best, but frozen strawberries can be used if you drain excess liquid.
• Add a touch of lemon zest to brighten the strawberry flavor.
• If the rolls brown too quickly, cover the pan loosely with foil during the last minutes of baking.
• These rolls taste best the same day but can be reheated for 10–15 seconds in the microwave to restore softness.
• You can prepare the rolls the night before: assemble, cover tightly, refrigerate, then bake the next morning.
